Enable and Customize the Zoom Recording Disclaimer

Set up automatic notifications for your meeting participants to gain recording consent and let them know you’ll be recording for a specific purpose with a custom disclaimer message.
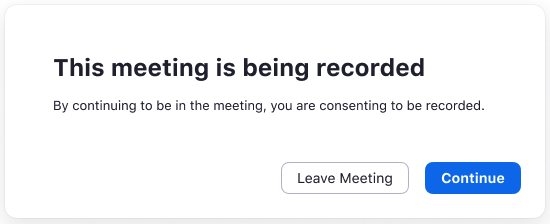
Attendees of your recorded Zoom meetings can be prompted to provide their consent to be recorded. When the recording disclaimer is enabled, attendees will receive a notification when they join a recorded meeting or later when a recording starts mid-meeting. The attendee can either consent to stay in the session or leave.
For step-by-step instructions on how to turn recording disclaimers on for your account (or all users on your account if you're an admin), please review this guide on Zoom's website here. If you want to get started right away, here you go.
Enabling Recording Disclaimer
To enable the recording disclaimer in Zoom for your account use:
- Sign in to the Zoom web portal.
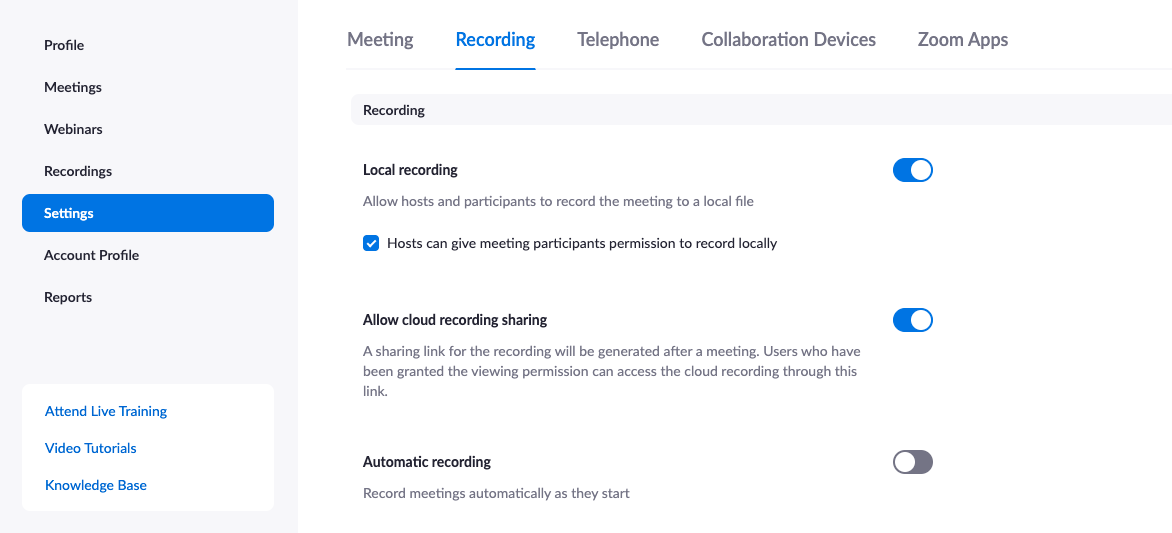
- In the navigation panel, click Settings.
- Click the Recording tab.
- Verify that Recording Disclaimer is enabled.
- If the setting is disabled, click the toggle to enable it. If a verification dialog displays, click Turn On to verify the change.
Note: If the option is grayed out, it has been locked at either the group or account level. You need to contact your Zoom admin.
To enable the recording disclaimer for all users in your Zoom account as an admin:
- Sign in to the Zoom web portal as an admin with the privilege to edit account settings.
- In the navigation panel, click Account Management then Account Settings.
- Click the Recording tab.
- Verify that Recording Disclaimer is enabled.
- If the setting is disabled, click the toggle to enable it. If a verification dialog displays, click Turn On to verify the change.
- (Optional) If you want to make this setting mandatory for all users in your account, click the lock icon, and then click Lock to confirm the setting.
Related: How to edit your zoom video recording?
Customizing Zoom Recording Disclaimer
Now that you’ve enabled it, let’s learn how to customize the Zoom recording disclaimer for your own use cases.
- Sign in to the Zoom web portal as an admin so that you’ll have access to customize the enabled disclaimer.
- Go to settings > Recordings tab.
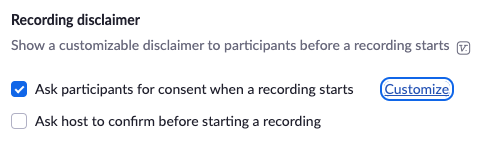
- Scroll down to “Recording notifications - Zoom clients” section.
- Below “Show a disclaimer to participants when a recording starts” option, you’ll see “Customize Disclaimer”. Just click.
- Now choose the language and make the edits to the title, description, and add links if needed.
That’s it. Here’s an example disclaimer:
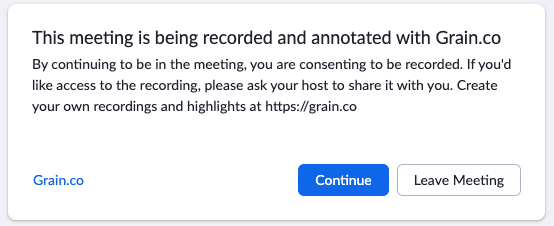
If you are someone who records Zoom meetings and webinars, then learn how to access Zoom recordings instantly.

.png)