Record Zoom Meetings: A Complete Guide

With the widespread adoption of remote work and virtual meetings, recording Zoom meetings has become essential for documentation, training, and collaboration. However, mastering the art of recording Zoom meetings requires a solid understanding of the platform’s features, settings, and best practices. This comprehensive guide will help you record Zoom meetings effectively, manage recording permissions, and even transcribe meetings for better accessibility and post-meeting reviews.
What is Zoom Recording?

Zoom recording refers to the ability to capture audio, video, and shared screens during a Zoom meeting. There are two primary options for recording meetings in Zoom: local recording and cloud recording.
- Local Recording: This option allows users to save recorded Zoom meetings directly to their devices. It is available for both free and paid Zoom accounts but has limitations in terms of file storage and sharing flexibility.
- Cloud Recording: This feature is exclusive to paid Zoom accounts, offering the ability to save recordings directly to the Zoom cloud. Cloud recordings are easier to access, share, and manage, and they come with additional features like transcription.
Choosing between local and cloud recording depends on your requirements, such as storage capacity, sharing needs, and budget considerations.
Key Considerations:
- Free vs. Paid Zoom Accounts: Local recording is available for free users, while cloud recording is reserved for paid users.
- Recording Permissions: Only hosts and co-hosts have default recording privileges. Participants must request recording permissions unless otherwise configured.
What is Cloud Recording and How Does it Work?
Cloud recording is a powerful feature in Zoom that allows hosts to record meetings directly to the cloud, bypassing the need for local storage on their devices. This feature is available to paid subscribers and offers a convenient way to store, manage, and share recordings.
When a host initiates a cloud recording, the meeting is captured in real-time and saved to the Zoom cloud. This process leverages Zoom’s servers, ensuring that the host’s device does not need to have ample storage space. Once the recording is complete, it can be accessed and shared through the Zoom web portal, making it easy to retrieve from anywhere with an internet connection.
Cloud recordings can be configured to capture different layouts, such as active speaker, gallery view, and shared screen, providing flexibility based on the meeting’s needs. Additionally, hosts can choose to start cloud recordings manually or set them to begin automatically, ensuring that important meetings are always documented.
Getting Started with Zoom Recordings
To record a Zoom meeting, you need to enable the recording settings in your Zoom account. Here’s how you can get started:
- Log in to the Zoom Web Portal: Navigate to Zoom’s web portal and sign in with your credentials.
- Access Recording Settings: Go to the ‘Settings’ section, then select the ‘Recording tab’. Here, you can enable local and cloud recordings.
- Assign Recording Privileges: As the host, you can assign recording permissions to other participants in the meeting. This is particularly useful for collaborative meetings where multiple people may need to record.
Enabling Cloud Recording:
- Ensure you have a Pro, Business, or Enterprise account.
- Go to ‘Settings’ > ‘Recording tab’ and enable ‘Cloud recording’.
- Choose the type of recordings to include (e.g., video, audio, or chat).
Recording a Zoom Meeting from the Desktop App
Recording a Zoom meeting from the desktop app is straightforward. Here’s a step-by-step guide to get you started:
- Start a Meeting: Launch Zoom and start a new meeting or join an existing one.
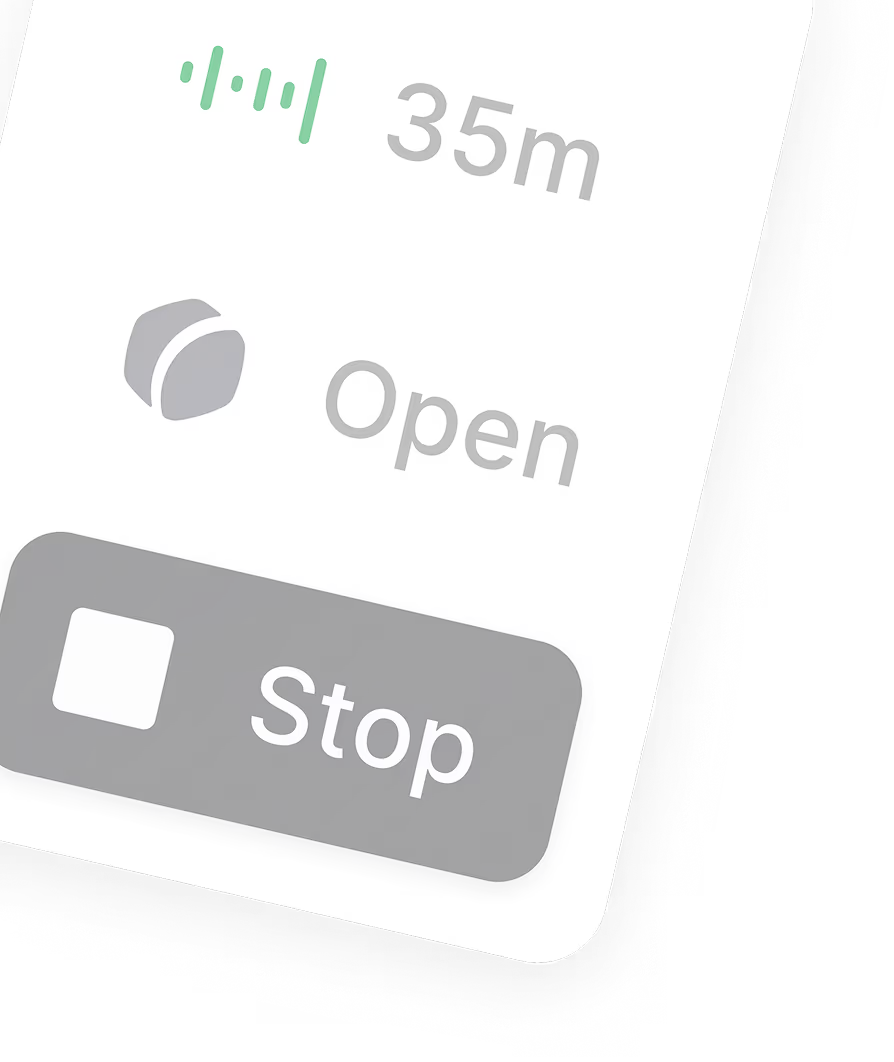
- Click on the Record Button: You’ll find the ‘Record’ button at the bottom of the screen. Click it to begin recording.
- Pause or Stop Recording: During the meeting, you can pause or stop the recording as needed using the ‘Pause’ and ‘Stop’ buttons.
- Save and Access the Recording: Once the meeting ends, Zoom will automatically save the recording to your chosen location (local or cloud).
Pro Tip: Use the keyboard shortcuts Alt+R (Windows) or Command(⌘)+Shift+R (Mac) to quickly start and stop recordings without navigating the UI.
Recording Zoom Meetings on Mobile Devices
Zoom allows users to record meetings on mobile devices, but there are some limitations compared to desktop recordings. Here’s how to record on iOS and Android:
- Join the Meeting: Open the Zoom app on your mobile device and join the meeting.
- Tap on ‘More’ and Select ‘Record’: This option is only available for paid accounts with cloud recording enabled.
- Pause/Stop Recording: Use the pause/stop icons on the bottom of the screen.
- Access Recorded Files: After the meeting, you can access your recordings from the ‘My Recordings’ section in the Zoom app.
Limitations: Local recording is not available on mobile devices. You need a cloud recording feature to capture meetings on iOS or Android.
Understanding Recording Permissions and Consent
Recording permissions are a critical part of Zoom’s security features. Obtaining recording permission from the host is essential before recording a Zoom meeting. Only hosts and co-hosts can record meetings by default. Participants need explicit permissions from the host to start recording.
Steps to Manage Recording Permissions:
- Assign Co-Host Roles: This gives the assigned co-host the same recording privileges as the host.
- Enable Participant Recording: As a host, go to ‘Participants’ and click on ‘More’ next to the participant’s name. Select ‘Allow Record’.
Recording Consent: In compliance with privacy laws, Zoom requires recording consent from participants. When a recording starts, participants are notified, and they have the option to leave the meeting if they do not consent.
Tip: Always inform participants at the beginning of the meeting that it will be recorded and for what purpose, to maintain transparency and trust.
Recording Options: Local vs. Cloud
Zoom offers two primary recording options: local recording and cloud recording. Each option has its own set of advantages and disadvantages, catering to different needs and preferences.
Local Recording: This option saves the recording directly to the host’s device. It’s ideal for users who prefer to have direct control over their recordings and do not need to share them extensively. Local recordings can be accessed and managed through the Zoom desktop app. However, they require sufficient storage space on the host’s device and can be impacted by internet connectivity issues during the meeting.
Cloud Recording: This option saves the recording to the Zoom cloud, making it accessible from anywhere via the Zoom web portal. Cloud recordings are perfect for users who need to share recordings with others or access them remotely. They do not consume local storage space and are not affected by connectivity issues during the meeting. However, cloud recording is only available to paid subscribers and may have limitations on storage space and recording duration.
Choosing between local and cloud recording depends on your specific needs, such as storage capacity, sharing requirements, and budget.
Managing and Sharing Recorded Zoom Meetings
Once your Zoom meetings are recorded, managing and sharing them effectively is key. Here’s how to do it:
- Access Your Recordings: Go to ‘Recordings’ in your Zoom web portal to view all your saved sessions.
- Share Recordings: You can share links to your cloud recordings directly via email or by copying the shareable link.
- Editing Recordings: Zoom allows basic editing like trimming the start and end of the video. For more advanced editing, consider exporting the recording to a video editor like iMovie or Adobe Premiere.
Tip: To enhance your recordings, use third-party tools like Grain to clip, highlight, and add notes directly to your meeting videos.
Transcribing Zoom Meetings
Transcriptions make it easier to review and reference meeting content. Zoom offers a built-in transcription feature for cloud recordings.
- Enable Transcription: Go to ‘Settings’ > ‘Recording’ and enable ‘Audio transcription’.
- Access Transcriptions: Once the meeting ends, you’ll receive a transcript file alongside your recording.
- Edit Transcriptions: You can make edits to the transcription directly in the Zoom web portal.
Free Transcription Tools: If you’re looking for free options, consider third-party tools like Otter.ai or Grain, which offer free transcription services with limited features.
Best Practices for Recording Zoom Meetings
To ensure high-quality recordings and maintain professional standards, follow these best practices:
- Check Your Recording Settings: Verify that your audio, video, and screen-sharing settings are optimized.
- Use a Stable Internet Connection: Ensure that your internet connection is stable to avoid disruptions during the recording.
- Obtain Consent: Always inform participants that the meeting is being recorded.
- Record Important Meetings: Use the auto-record feature for critical meetings to ensure nothing is missed.
Limitations and Troubleshooting Zoom Recordings
Recording issues can arise due to various reasons. Here are some common problems and their solutions:
- Recording Not Saving: Ensure you have enough local storage or cloud space.
- No Audio in Recordings: Check if the correct microphone was selected before starting the recording.
- Permissions Issues: If you can’t record, verify that you have host or co-host privileges.
Common Issues with Recording Zoom Meetings
Recording Zoom meetings can sometimes present challenges. Here are some common issues and tips to troubleshoot them:
Poor Audio Quality: This can be caused by poor internet connectivity, low-quality audio equipment, or incorrect audio settings. To improve audio quality, ensure a stable internet connection, use high-quality microphones, and check your audio settings before starting the meeting.
Difficulty Accessing or Sharing Recordings: This issue can arise from incorrect recording settings, insufficient storage space, or problems with the Zoom web portal. Verify your recording settings, ensure you have enough storage space, and check the Zoom web portal for any access issues.
Recording Not Saving: Ensure that you have enough local or cloud storage space. If using local recording, check that your device has sufficient free space. For cloud recording, verify that your account has not exceeded its storage limit.
By addressing these common issues, you can ensure a smoother recording experience for your Zoom meetings.
Advanced Zoom Recording Techniques
For advanced users, consider using third-party tools like Grain for recording meetings. These tools allow you to:
- Auto-record meetings across platforms (Zoom, Google Meet, Microsoft Teams).
- Clip and highlight important sections.
- Generate AI-based meeting notes and summaries.
How to Record a Zoom Meeting with Split-Track Audio
Recording a Zoom meeting with split-track audio allows you to capture separate audio tracks for each participant, which is particularly useful for editing and post-production. Here’s how to do it:
- Open the Zoom Desktop App: Launch the Zoom desktop app and start a new meeting.
- Click on the Record Button: At the bottom of the Zoom window, click the ‘Record’ button.
- Select ‘Record to Computer’: Choose the option to record the meeting locally on your device.
- Enable Split-Track Audio: In the recording settings, select the ‘Split-track audio’ option.
- Choose Audio Tracks: Select the specific audio tracks you want to record, such as the speaker and microphone.
- Start Recording: Begin the recording, and each participant’s audio will be saved as a separate file.
This method allows for greater flexibility in editing and mixing audio tracks, ensuring high-quality post-production results.
Compliance and Security for Zoom Recordings
Compliance is crucial when recording meetings. Follow these guidelines to ensure you meet legal and organizational requirements:
- Data Protection: Store recordings in secure locations and manage access to sensitive content.
- Consent Management: Always obtain explicit consent before recording and sharing meeting content.
- Regulation Compliance: Ensure your recording practices align with GDPR, CCPA, or other applicable regulations.
Using Zoom Recordings Beyond Meetings
Recordings are not just for reviews—they can be leveraged for multiple purposes:
- Training and Onboarding: Use recordings to train new employees or provide process documentation.
- Marketing and Content Creation: Repurpose recorded content into blog posts, podcasts, or tutorials.
- Team Collaboration: Share meeting highlights and insights across teams to enhance collaboration.
Choosing the Right Zoom Recording Solution
There are different ways to record Zoom meetings, and selecting the right solution depends on your specific needs:
- Zoom Local Recording: Ideal for quick recordings with limited sharing needs.
- Zoom Cloud Recording: Best for accessible, shareable content that requires transcription.
- Grain and Other Tools: Excellent for AI-based notes, automatic transcription, and cross-platform recording.
Recording Zoom meetings doesn’t have to be complicated. With this guide, you now have the tools to record Zoom meetings efficiently, transcribe them accurately, and manage permissions effectively. Whether you’re using Zoom’s built-in features or third-party solutions like Grain, you can elevate your meeting documentation and ensure that nothing is missed.
Try Grain today for advanced recording and transcription capabilities, and unlock the true potential of your Zoom meetings.

.png)